Table of Contents
Conductor is based on the open-sourced QMK mechanical keyboard firmware and therefore has access to all the powerful features included. Conductor interfaces natively with the VIA Remapping Software and therefore supports all the native keycodes exposed by VIA.
VIA can only be used on Chromium based browsers such as Google Chrome or Edge or on Opera. Please use the latest version of your browser for the best experience.
Basic Keycodes
Like a normal mechanical keyboard, Conductor can reprogram its keys to any key on a standard keyboard. This includes all letters, numbers, and associated symbols, as well as the function keys.
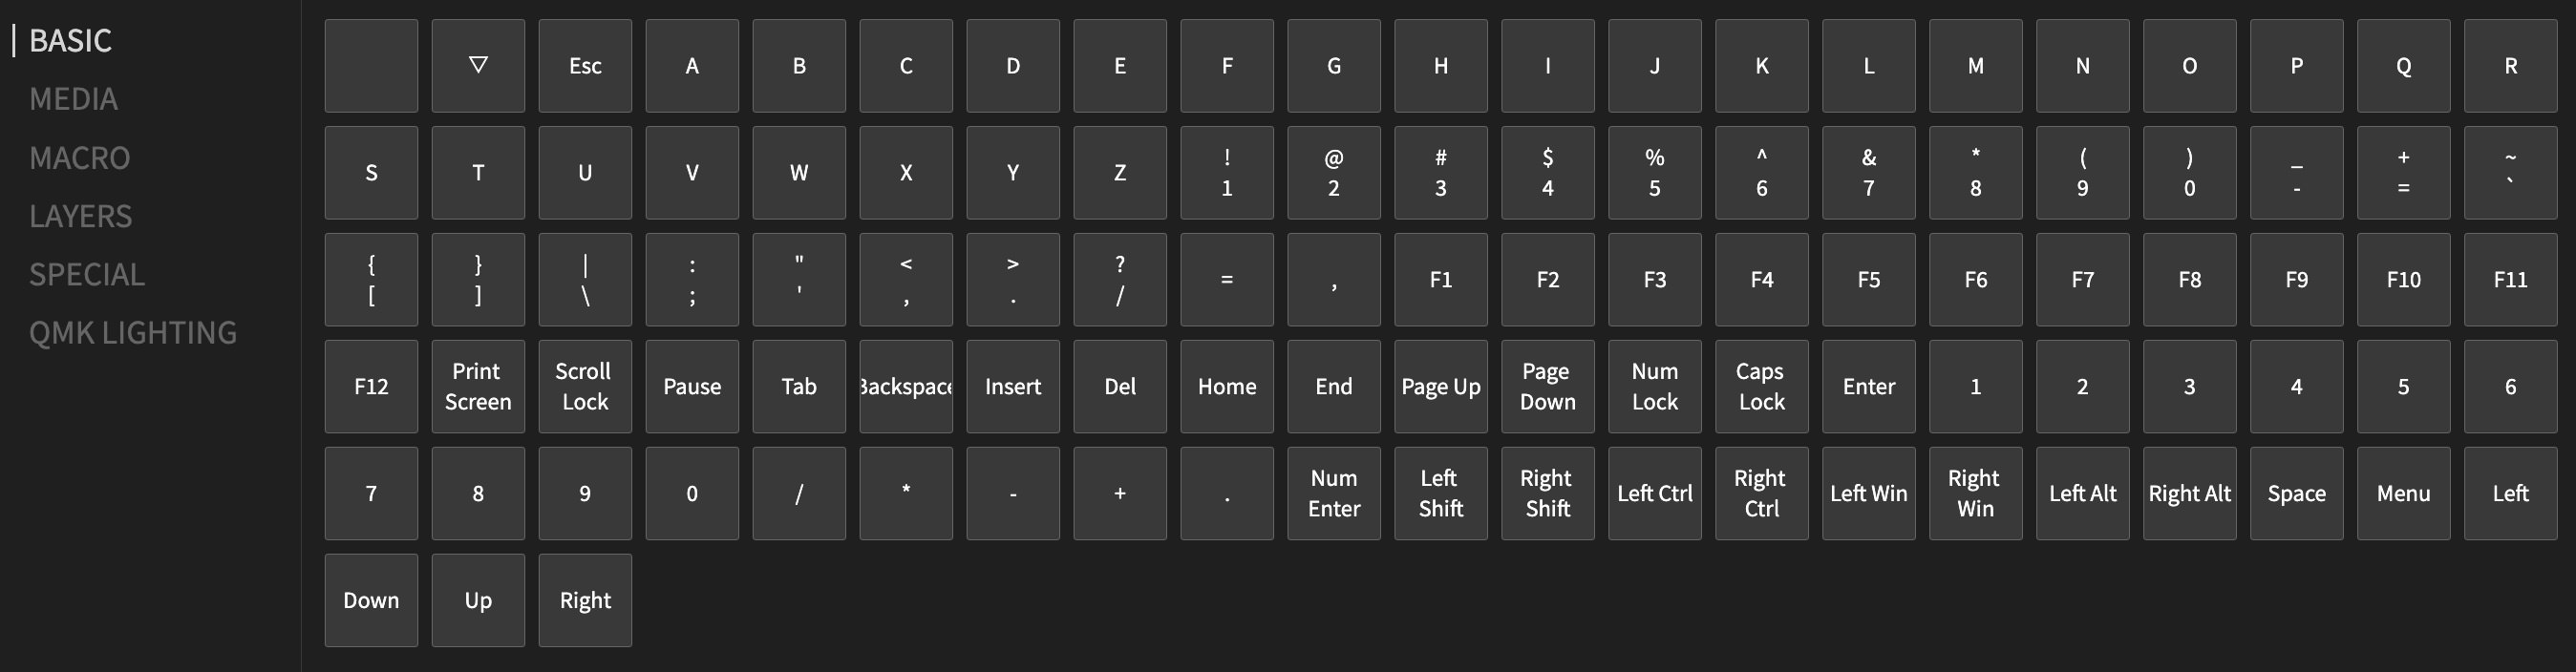
Note: Some keyboard symbols as well as additional F-keys may be found in the list of "Special" keycodes
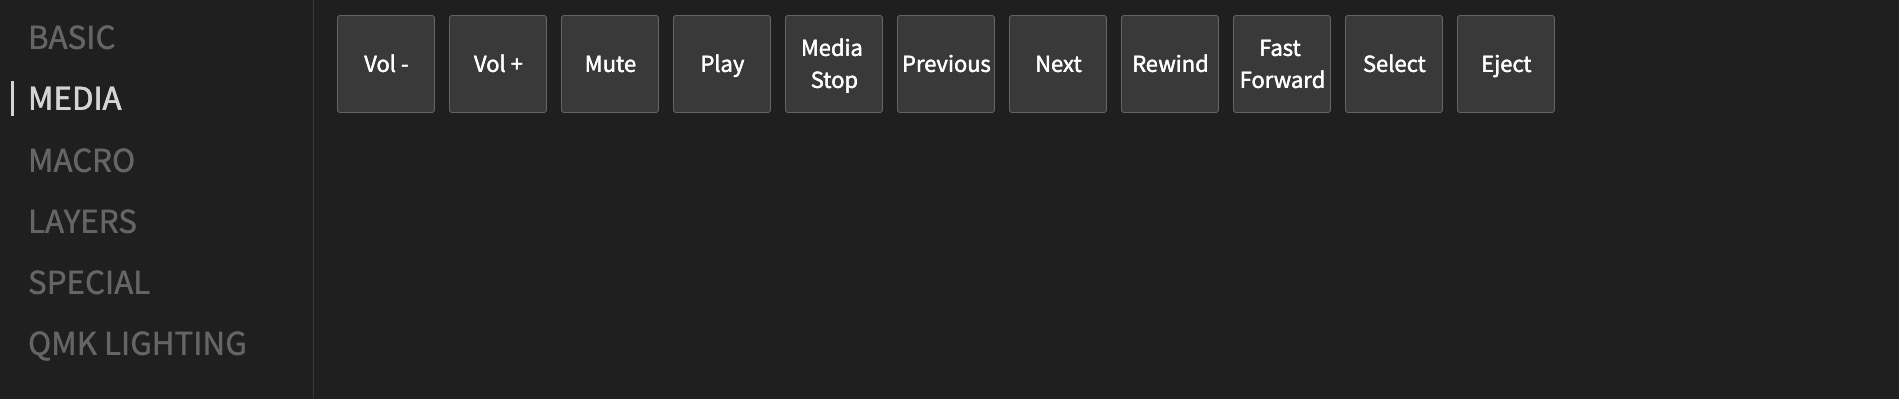
Media Keycodes
QMK/VIA also supports basic media keycodes such as Volume-, Volume+, Mute, Play, etc… to control system audio output.
The full list is:
| Keycode Name | Description |
|---|---|
| Vol- | Reduce system volume |
| Vol+ | Increase system volume |
| Mute | Mute system volume |
| Play | Play/pause track |
| Previous | Previous track |
| Next | Next track |
| Media Stop | Stop track |
| Rewind | Rewind track |
| Fast Forward | Fast Forward track |
| Select | Select track |
| Eject | Eject physical disc |
Modifier Keys and Combos
QMK allows keycodes to be attached to modifier keys when pressed, such as Shift, Control, Alt (Option), Windows (Command).
To assign Modifiers in VIA, you must use the “Any” keycode functionality found under “Special” -> Any. The “Any” keycode allows you to enter assign an arbitrary QMK keycode to a key.
For modifiers, QMK follows a specific structure of MODIFIER(BASE) where MODIFIER is the modifier desired from the list below and BASE is the QMK basic keycode that typically start with KC_. For a full list of QMK Basic Keycodes, consult the QMK Documentation.
The following are valid MODIFIER parameters:
| Key | Description |
|---|---|
LCTL(kc) |
Hold Left Control and press kc |
LSFT(kc) |
Hold Left Shift and press kc |
LALT(kc) |
Hold Left Alt and press kc |
LGUI(kc) |
Hold Left Windows and press kc |
RCTL(kc) |
Hold Right Control and press kc |
RSFT(kc) |
Hold Right Shift and press kc |
RALT(kc) |
Hold Right Alt (AltGr) and press kc |
RGUI(kc) |
Hold Right Windows and press kc |
LSG(kc) |
Hold Left Shift and Left Windows and press kc |
LAG(kc) |
Hold Left Alt and Left Windows and press kc |
RSG(kc) |
Hold Right Shift and Right Windows and press kc |
RAG(kc) |
Hold Right Alt and Right Windows and press kc |
LCA(kc) |
Hold Left Control and Alt and press kc |
LSA(kc) |
Hold Left Shift and Left Alt and press kc |
RSA(kc) |
Hold Right Shift and Right Alt and press kc |
RCS(kc) |
Hold Right Control and Right Shift and press kc |
LCAG(kc) |
Hold Left Control, Alt and Windows and press kc |
MEH(kc) |
Hold Left Control, Shift and Alt and press kc |
HYPR(kc) |
Hold Left Control, Shift, Alt and Windows and press kc |
KC_MEH |
Left Control, Shift and Alt |
KC_HYPR |
Left Control, Shift, Alt and Windows |
Examples
- To hold Left Control and press C:
LCTL(KC_C) - To hold Right Alt + Right Windows and press M:
RAG(KC_M)
Macros
Conductor can be programmed to perform “macro” commands which are sequences of keystrokes (or combinations) to be performed immediately after another. For example, macros can be used to type entire paragraphs of text to save time, or to execute keyboard shortcuts consecutively. Conductor natively supports up to 16 macros that can be fully programmed at one time (subject to increase in future).
Creating Macros
A macro must first be written before it can be used. First, enter the VIA macro editor on the top-left hand side of the screen.
Next, locate the macro slot you wish to write, from Macro0 to Macro15. Any slot can be used.
Remember which slot you wrote your macro to, as you will need it to assign to a function.
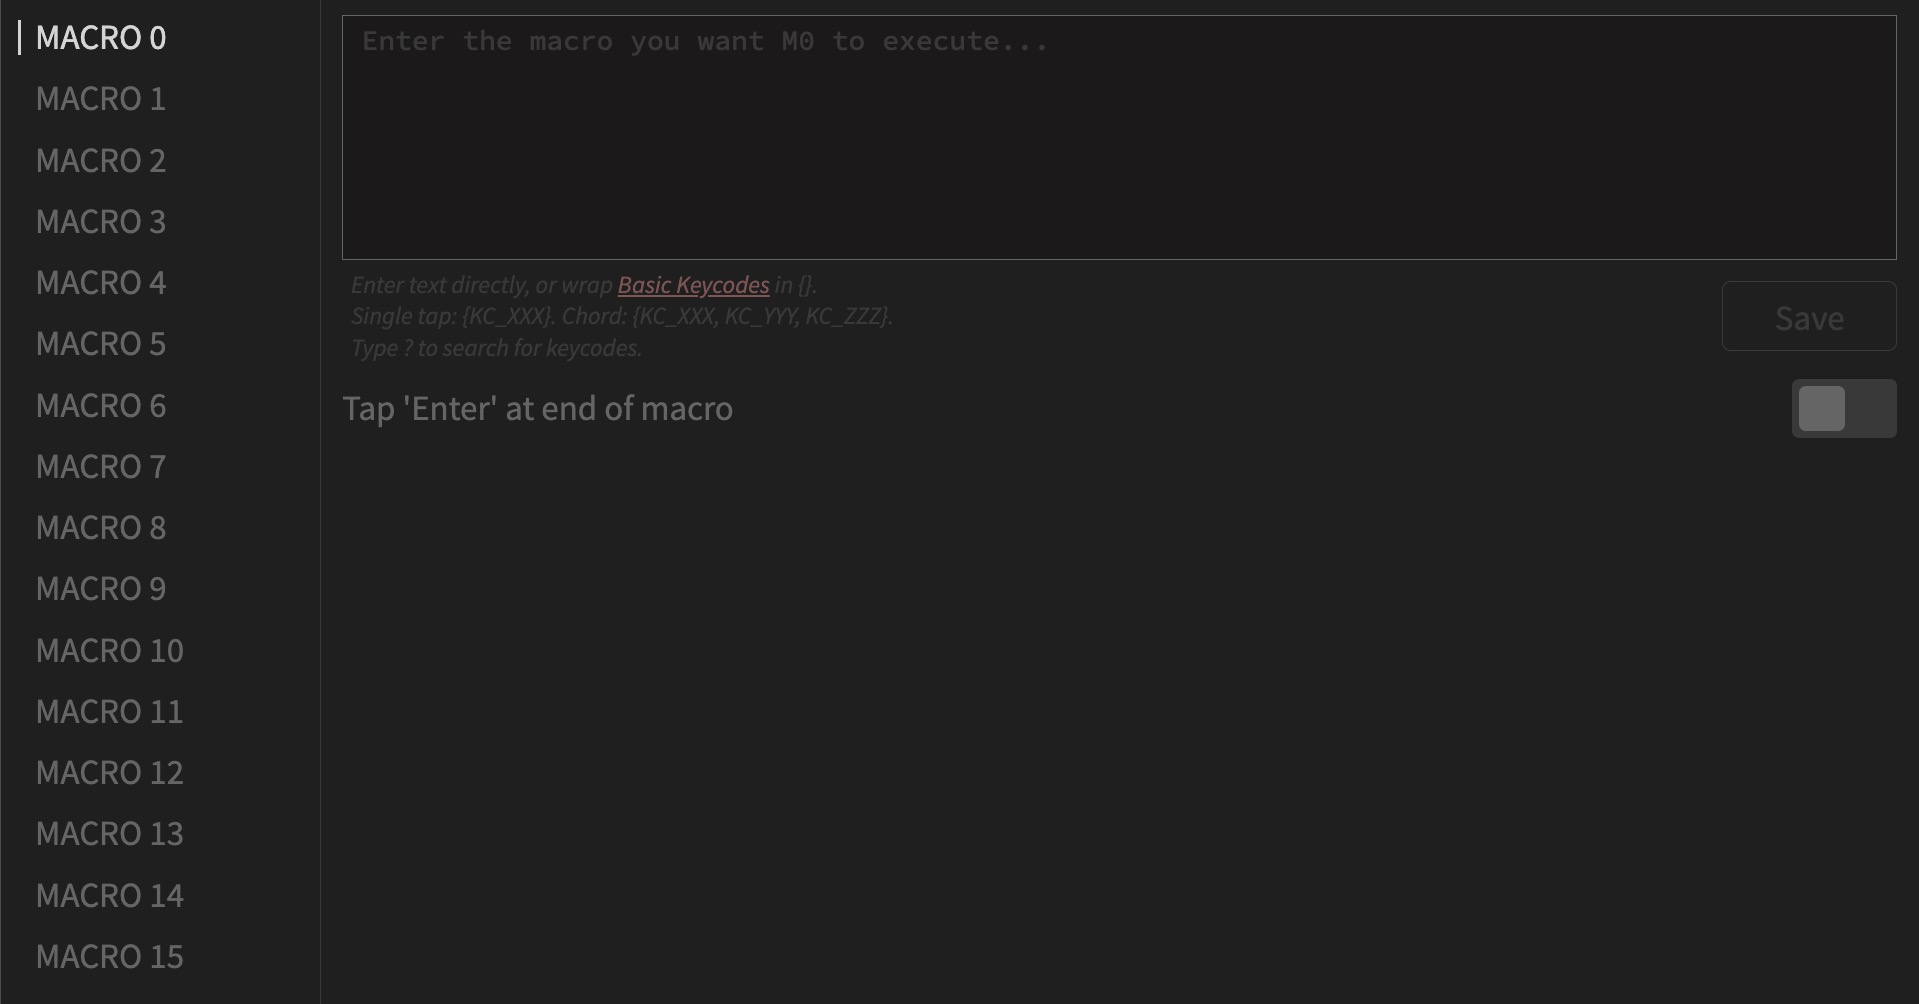
You can enter text directly into the macro editor box or you can enter QMK basic keycodes that typically start with KC_. For a full list of QMK Basic Keycodes, consult the QMK Documentation. You can also enter “chord” or keycodes to be pressed simultaneously using the syntax {KC_A, KC_B, ... }.
Examples
- Type
google.com, enter:google.com - Type
helloand then press Control + V (paste), enter:hello,{KC_LCTL, KC_V} - Press Control + C, then Alt + Tab, then Control + V, enter:
{KC_LCTL, KC_C},{KC_LALT,KC_TAB},{KC_LCTL,KC_V}
Layers and Transparency
Conductor ships out of the box with a total of 8 layers available for key mapping. For a more in-depth look at layers, consult the QMK Documentation
It is highly recommended to read the QMK Documentation on layers before beginning to use the layers feature. It’s possible to lock yourself into a layer with no way to deactivate that layer (without unplugging your keyboard).
Switching Layers
To swap between layers, QMK and VIA have various layer-switch types, each with different behaviors. VIA allows the following types of layer controls:
| Key | Description |
|---|---|
MO(layer) |
Momentarily turn on layer when pressed (requires KC_TRNS on destination layer) |
OSL(layer) |
Momentarily activates layer until a key is pressed. See One Shot Keys for details. |
TG(layer) |
Toggle layer on or off |
TO(layer) |
Turns on layer and turns off all other layers, except the default layer |
TT(layer) |
Normally acts like MO unless it’s tapped multiple times, which toggles layer on |
Transparent Keys
Transparent keys may be set up to access the keycodes on the layer directly below the current active layer without having to write redo the keycode. The transparent keycode can be found under the “Basic” tab and looks like a small triangle pointing downwards.
Transparent keys are stackable. For example, if Layer 0 has KC_A and Layer 1 and Layer 2 are transparent, then Layer 2 will also use KC_A.